Stable Diffusion is an AI art generator, or more specifically, a "latent text-to-image diffusion model". You type in some words, maybe give it an image to work with, and it spits out one or more images. It's essentially a free and open source version of DALL-E, and you can very easily run it on your own system without too much hassle, assuming your graphics card can handle it.
AI art has been a hot new trendy tech thing for the past months leading up to the release of SD, but OpenAI's DALL-E and the likes have numerous filters and restrictions on your prompts and the content generated by them so you can't make porn or whatever. This is not the case with SD. You can do whatever the fuck you want with SD, which has caused a massive media shitstorm over the public release of the model.
stable-diffusion-web-ui, also known as voldy, is a very nice fork which includes fancy features like inpainting and upscaling and shit. Here's a stolen 4chan guide that is good enough to be copypasted by mainstream tech news outlets so I'm going to steal it too:
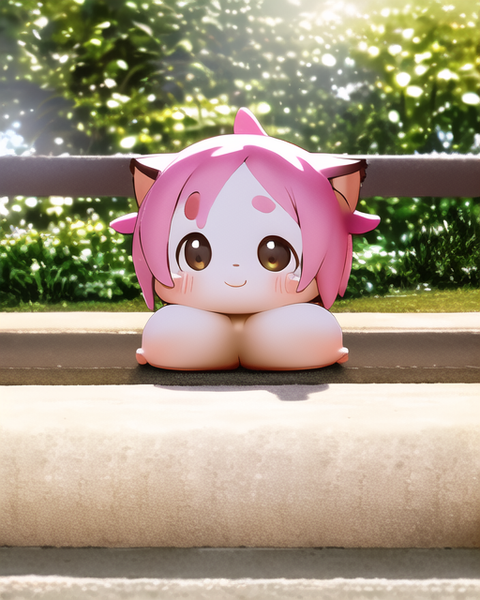
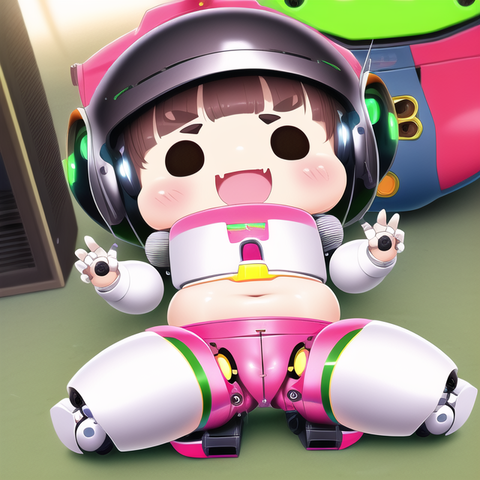
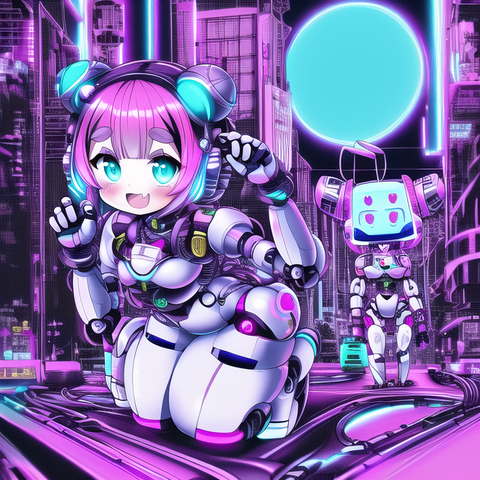
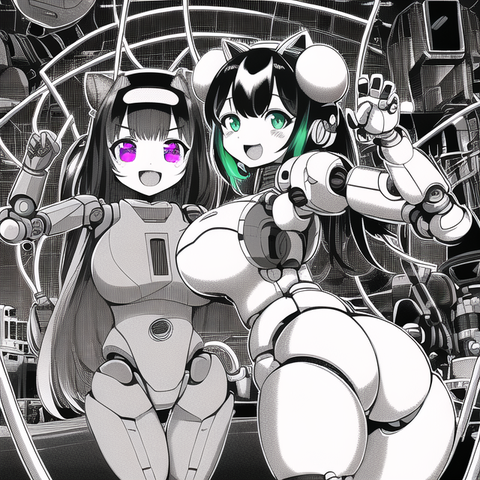
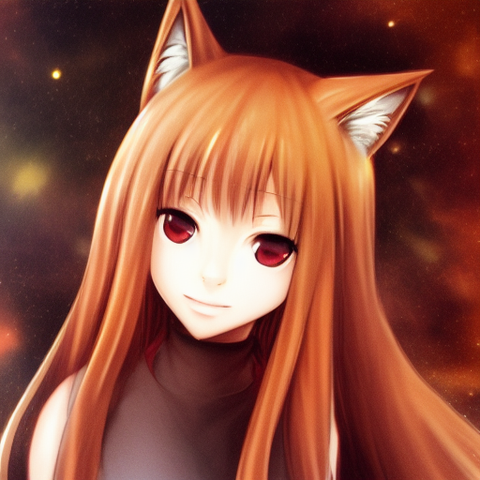
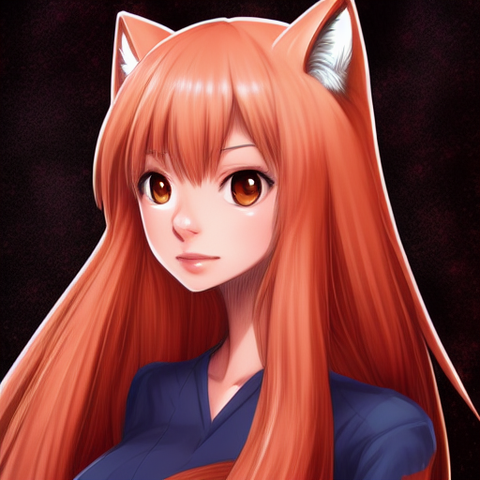
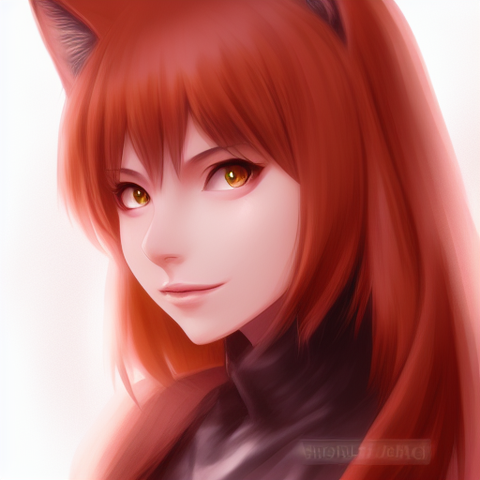
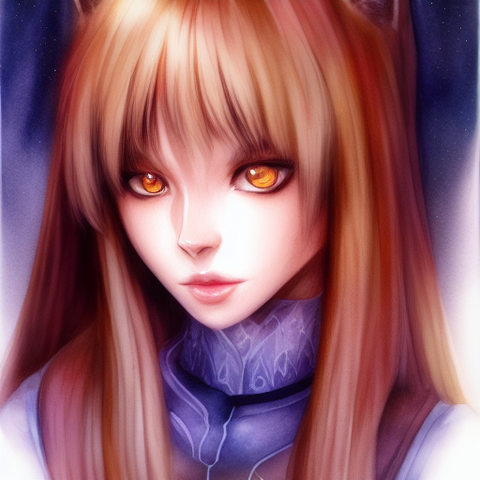
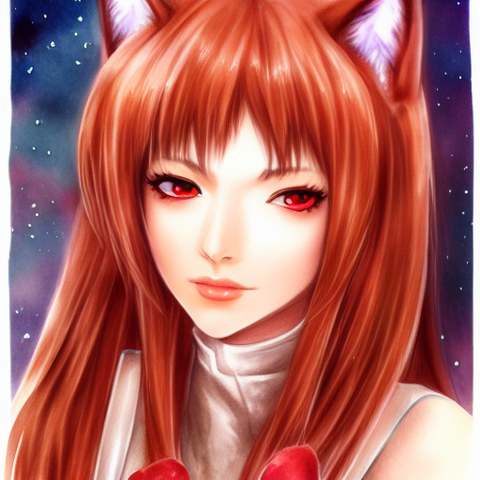
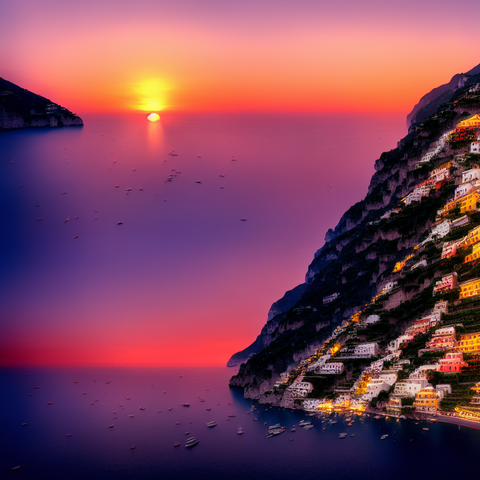
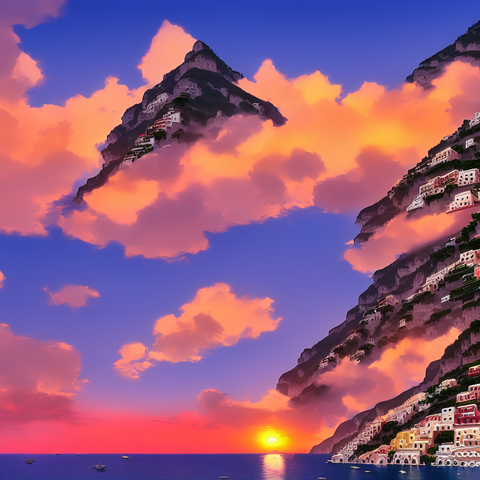
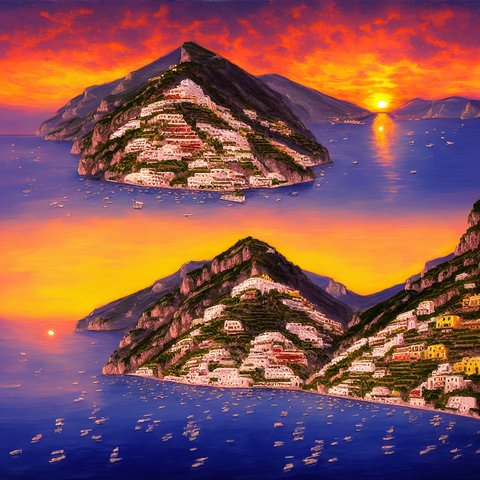
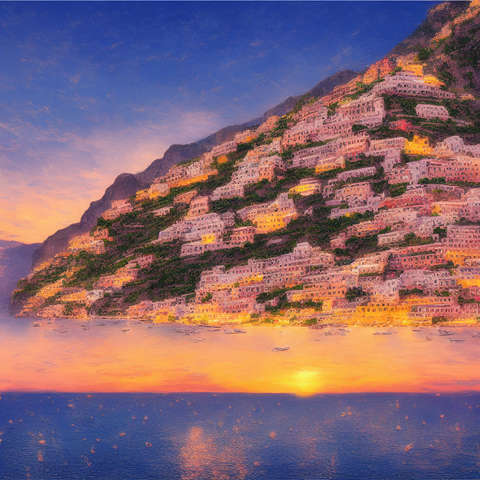
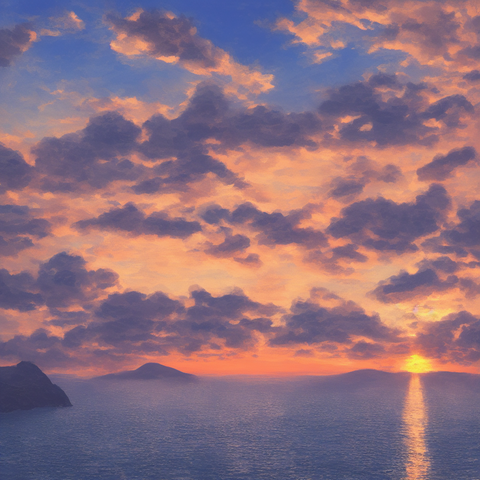
I made the mistake of installing this shit last week, and I am struggling to be productive since then, because all I want to do is generate cool art in my computer. Here is some of the cool images I have got out of it:
AI art has been a hot new trendy tech thing for the past months leading up to the release of SD, but OpenAI's DALL-E and the likes have numerous filters and restrictions on your prompts and the content generated by them so you can't make porn or whatever. This is not the case with SD. You can do whatever the fuck you want with SD, which has caused a massive media shitstorm over the public release of the model.
stable-diffusion-web-ui, also known as voldy, is a very nice fork which includes fancy features like inpainting and upscaling and shit. Here's a stolen 4chan guide that is good enough to be copypasted by mainstream tech news outlets so I'm going to steal it too:
src: https://rentry.org/voldy / (archive)--GUIDE--
Step 1: Install Git (page)
-When installing, make sure to select the Windows Explorer integration > Git Bash
Step 2: Clone the WebUI repo to your desired location:
-Right-click and select 'Git Bash here'
-Entergit clone [URL][URL]https://github.com/AUTOMATIC1111/stable-diffusion-webui[/URL][/URL]
(Note: to update, all you need to do is is typegit pullwithin the newly made webui folder)
Step 3: Download the 1.4 AI model from huggingface (requires signup) or HERE
-(torrent magnet)
(Alternate) 1.4 Waifu model trained on an additional 56k Danbooru images HERE (mirror)
-(torrent magnet)
(Note: Several GB larger than normal model, see instructions below for pruning)
comparison
Step 4: Rename your .ckpt file to "model.ckpt", and place it in the/stable-diffusion-webuifolder
Step 5: Install Python 3.10.6 (Windows 7 ver) (page)
Make sure to choose "add to PATH" when installing
Step 6 (Optional):
This reduces VRAM, and allows you to generate at larger resolutions or batch sizes for a <10% loss in raw generation speed
(For me, singular results were significantly slower, but generating with a batch size of 4 made each result 25% faster on average)
-Editwebui-user.bat
-ChangeCOMMANDLINE_ARGS=toCOMMANDLINE_ARGS=--medvram --opt-split-attention
Step 7: Runwebui-user.batfrom your File Explorer. Run it as normal user, not as administrator.
Usage
- Wait patiently while it installs dependencies and does a first time run.
It may seem "stuck" but it isn't. It may take up to 10-15 minutes.
And you're done!
--RUNNING ON 4GB (And under!)--
- Open webui-user.bat
- After loading the model, it should give you a LAN address such as '127.0.0.1:7860'
- Enter the address into your browser to enter the GUI environment
Tip: Hover your mouse over UI elements for tooltips about what they do- To exit, close the CMD window
These parameters are also useful for regular users who want to make larger images or batch sizes!
It is possible to drastically reduce VRAM usage with some modifications:
-Otherwise, do not use any of these (Increases generation time)-
- Step 1: Edit
webui-user.bat- Step 2: After
COMMANDLINE_ARGS=, enter your desired parameters:
Example:COMMANDLINE_ARGS=--medvram --opt-split-attention- If you have 4GB VRAM and want to make 512x512 (or maybe up to 640x640) images,
use--medvram.- If you have 4GB VRAM and want to make larger images, or you get an out of memory error with --medvram,
use--medvram --opt-split-attentioninstead.- If you have 4GB VRAM and you still get an out of memory error,
use--lowvram --always-batch-cond-uncond --opt-split-attentioninstead- If you have 2GB VRAM,
use--lowvram --opt-split-attention.
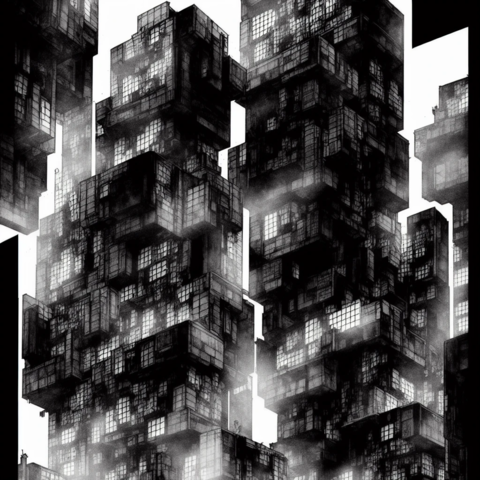
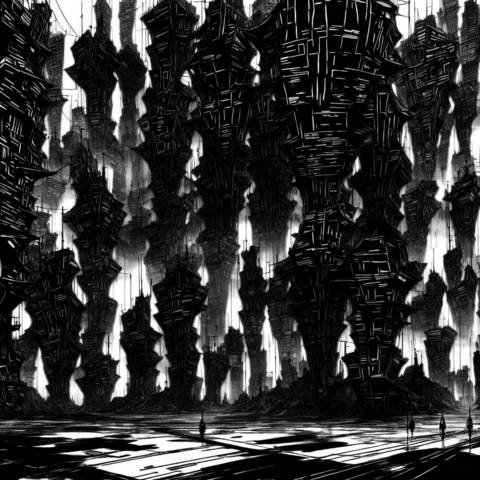
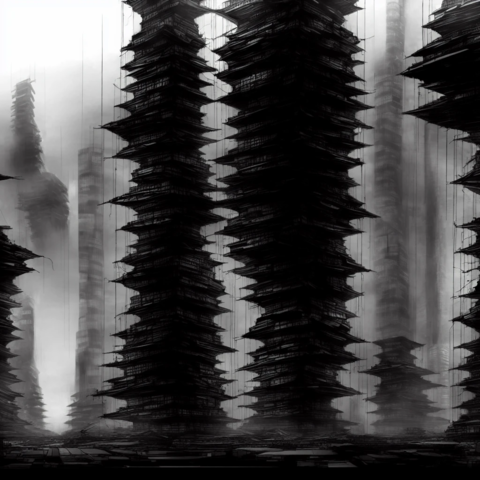
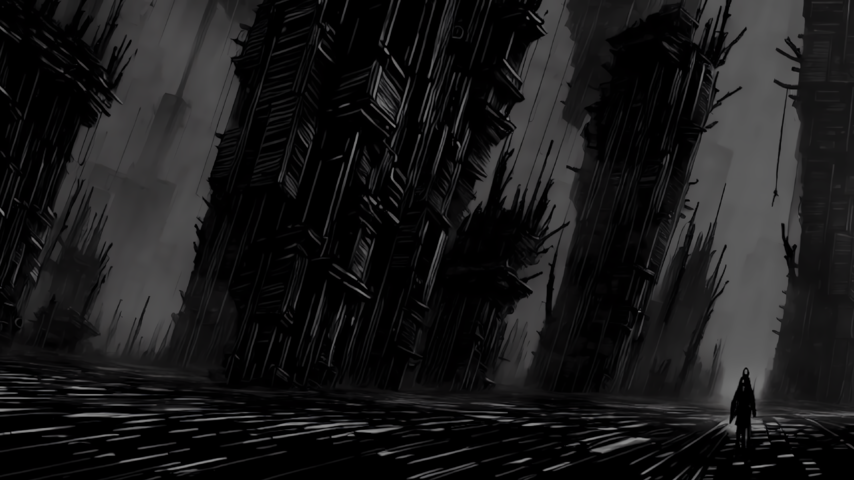
I made the mistake of installing this shit last week, and I am struggling to be productive since then, because all I want to do is generate cool art in my computer. Here is some of the cool images I have got out of it:
- Description
- "Alien technology that allows for superpowers" edition - featuring a helpful guide to help you install SD
Last edited:


), ((sharp_focus)), perfect_face...png")
),...png")